
Bridge saw and workshop finishing
Stone cutting and fabrication
Turn the slab into a piece made for its setting. Our workshop brings together bridge-saw cutting, mitres, openings, edge profiles and polishing for worktops, vanities, cladding and bespoke details. The selected material, approved dimensions and visible finishes guide the fabrication work.

Cutting
Straight cuts, mitres and cut-outs.
Finishing
Profiles and polished edges.
Before cutting
We check your material and sizes.
Your quote
Finishing and installation are listed separately.
From approved drawing to finished component
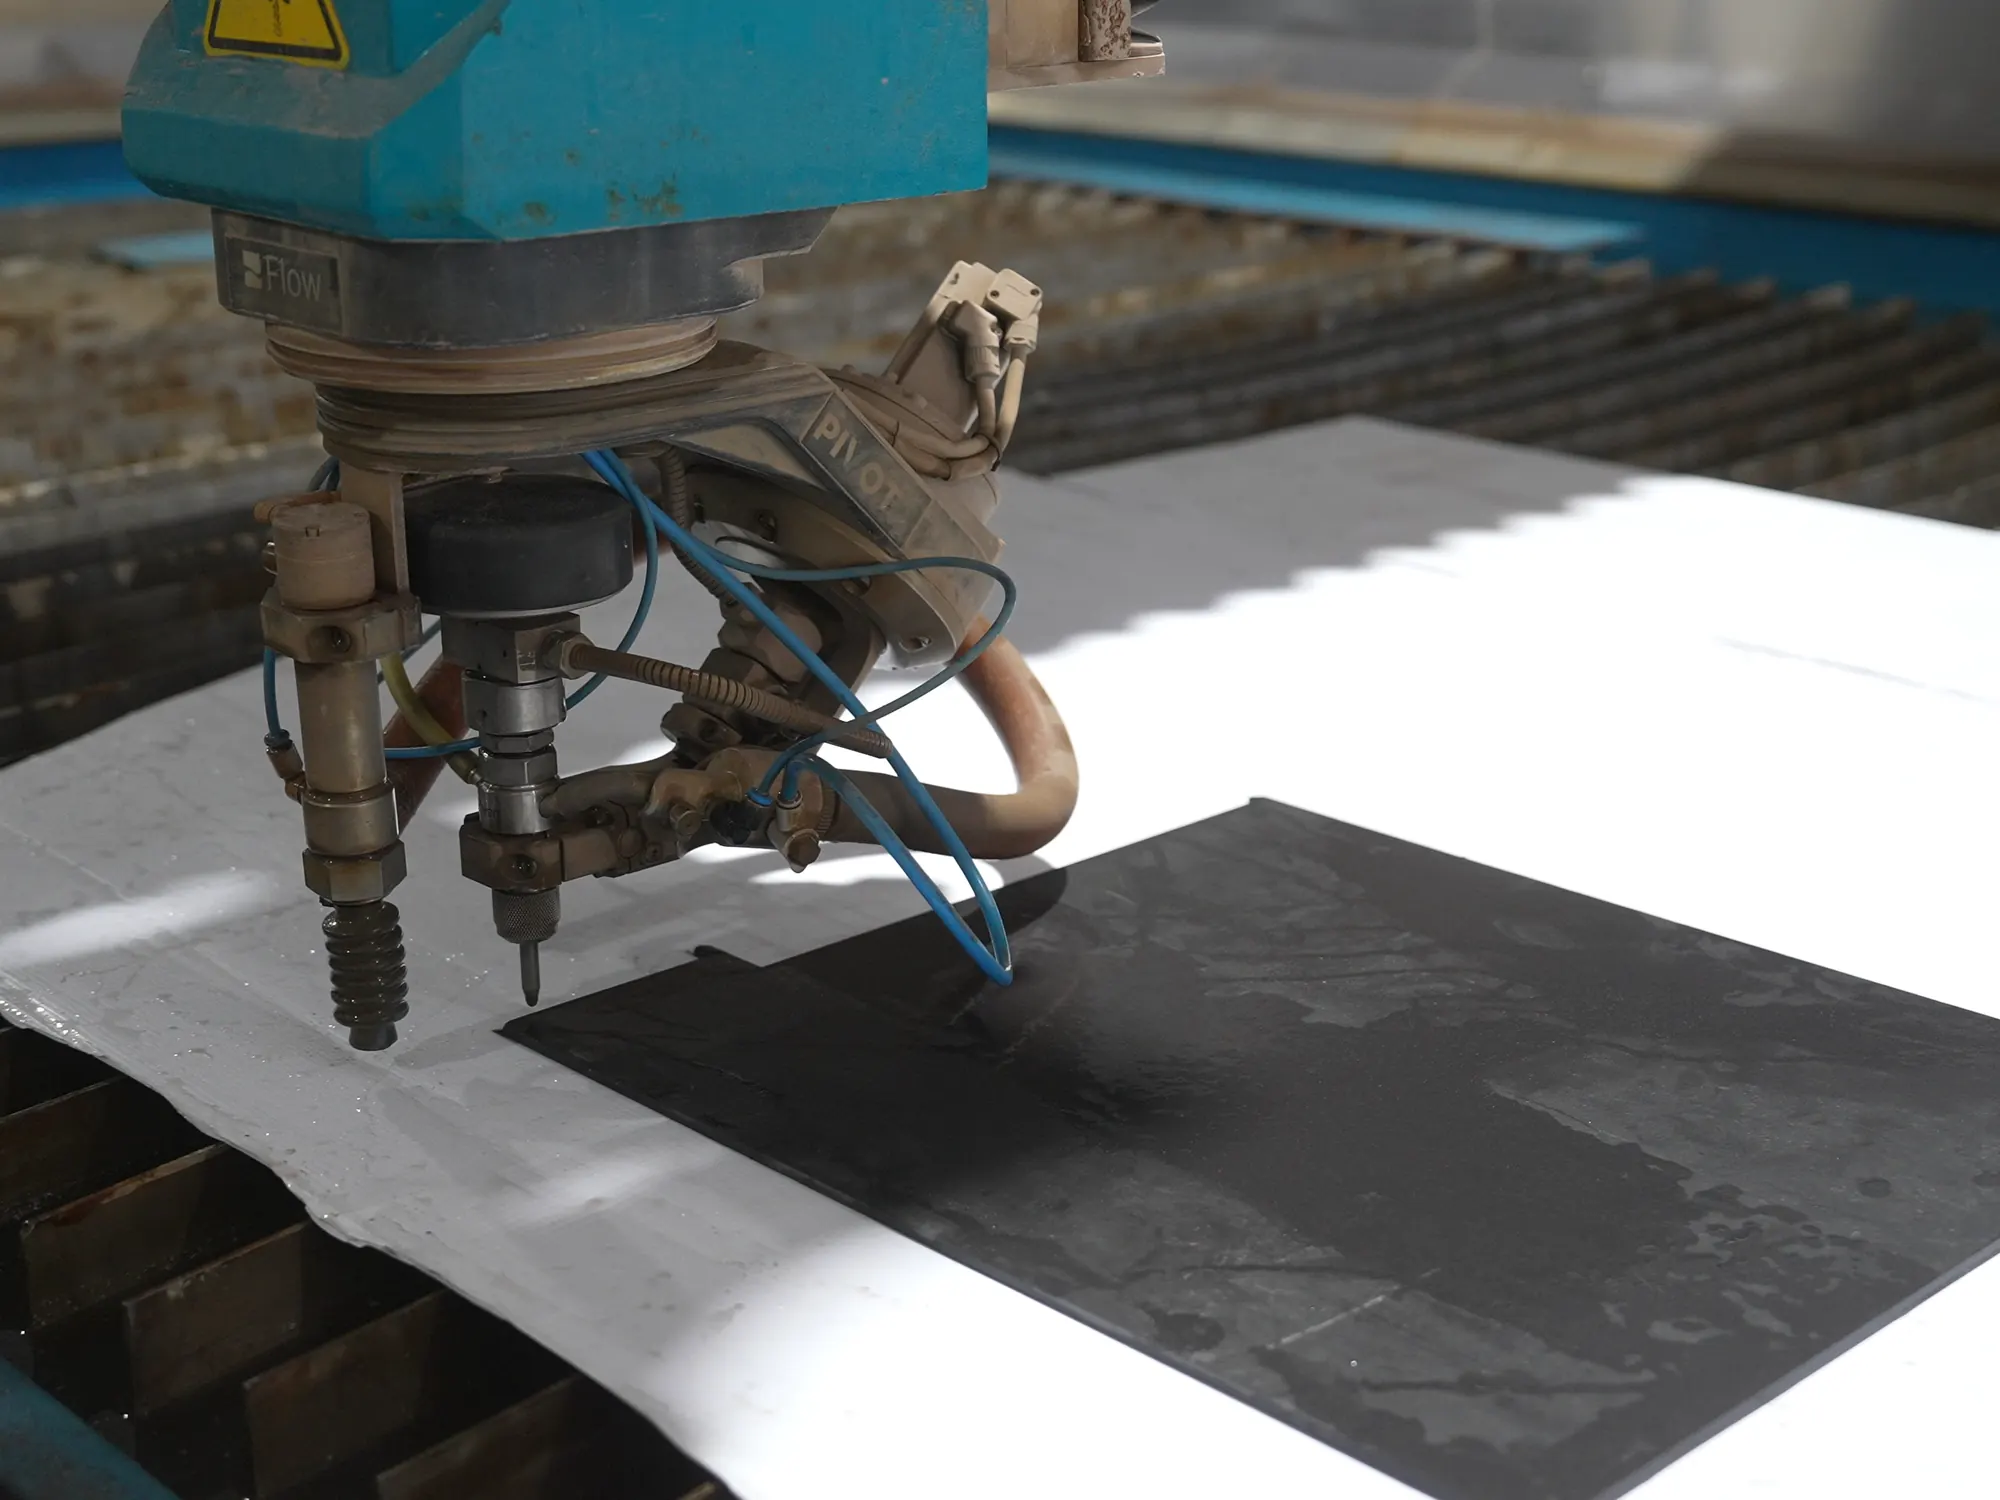
The workshop starts with what the piece must become. Final dimensions, the selected material, visible faces and openings define the work. Bridge sawing, waterjet shaping and finishing are matched to that detail.
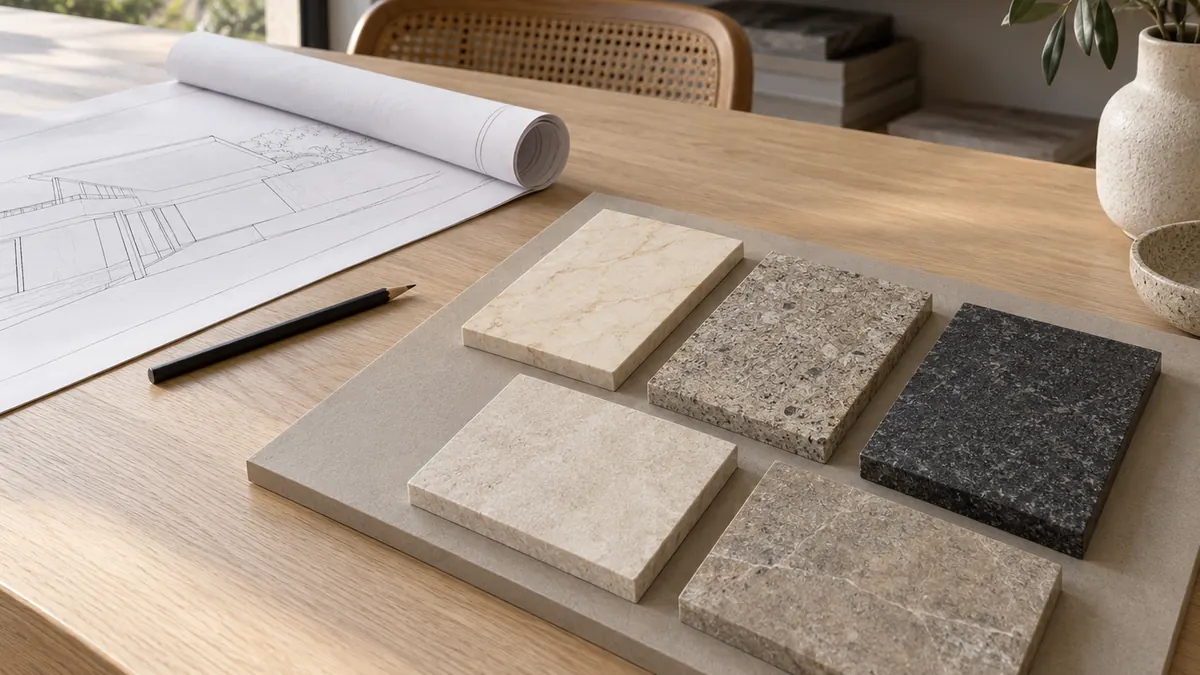
Drawing
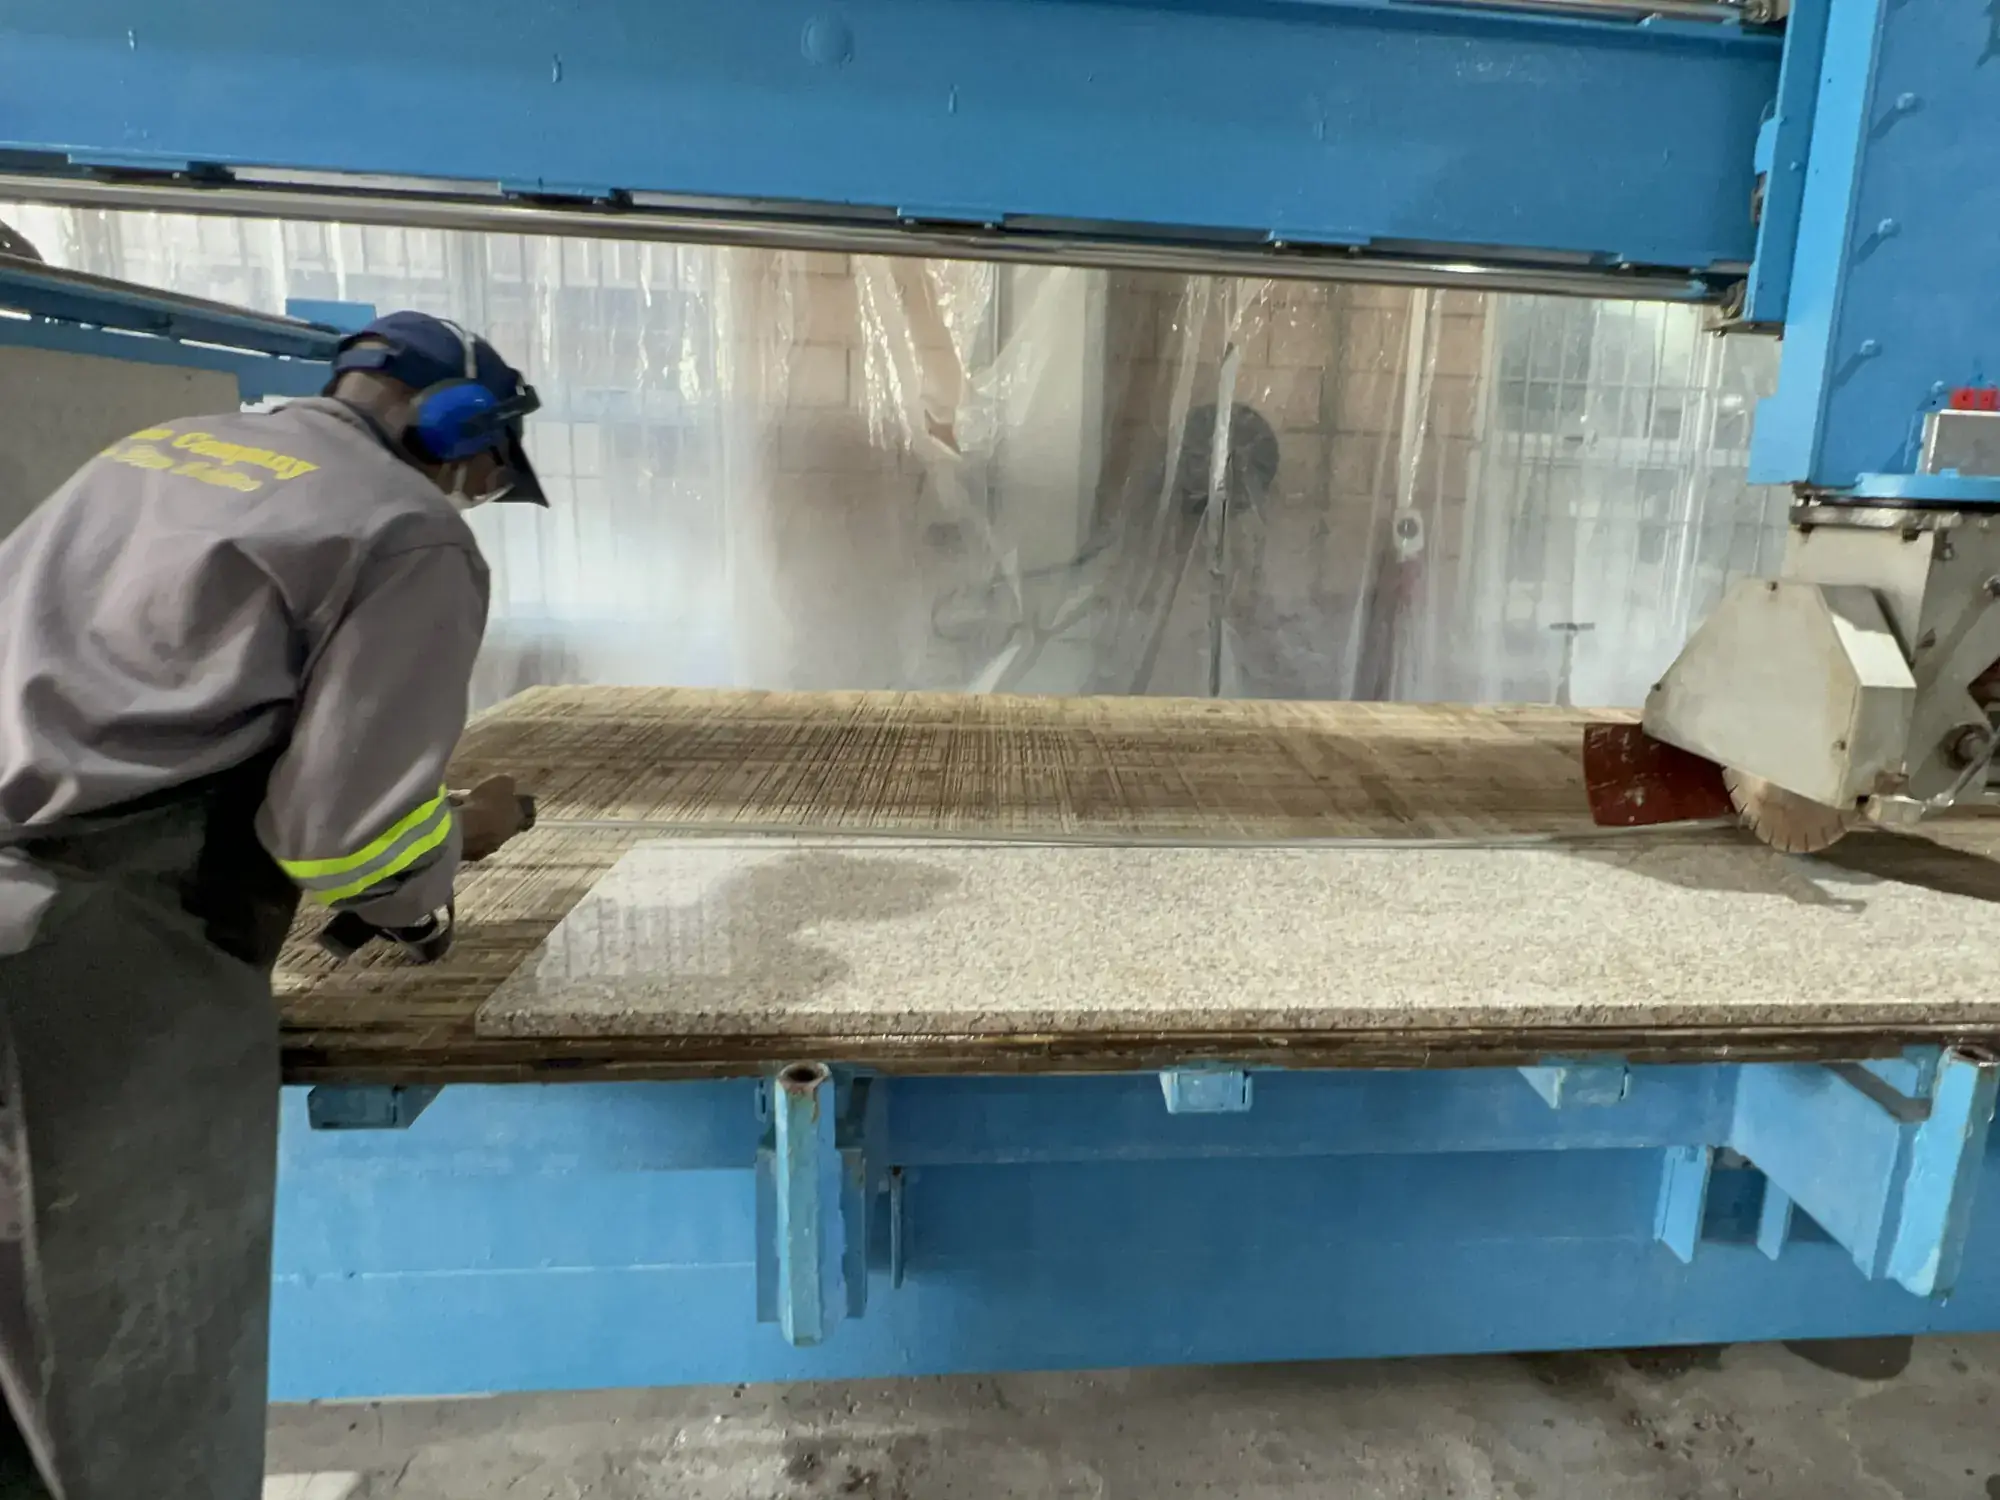
Cut
Drawing
We work from your latest drawing.Cut
Straight or angled cuts, sized to your drawing.Finish
We plan whether pieces leave as cut, edged or ready to install.
Method, material and drawing
A bridge saw sizes slabs and makes straight or angled cuts.
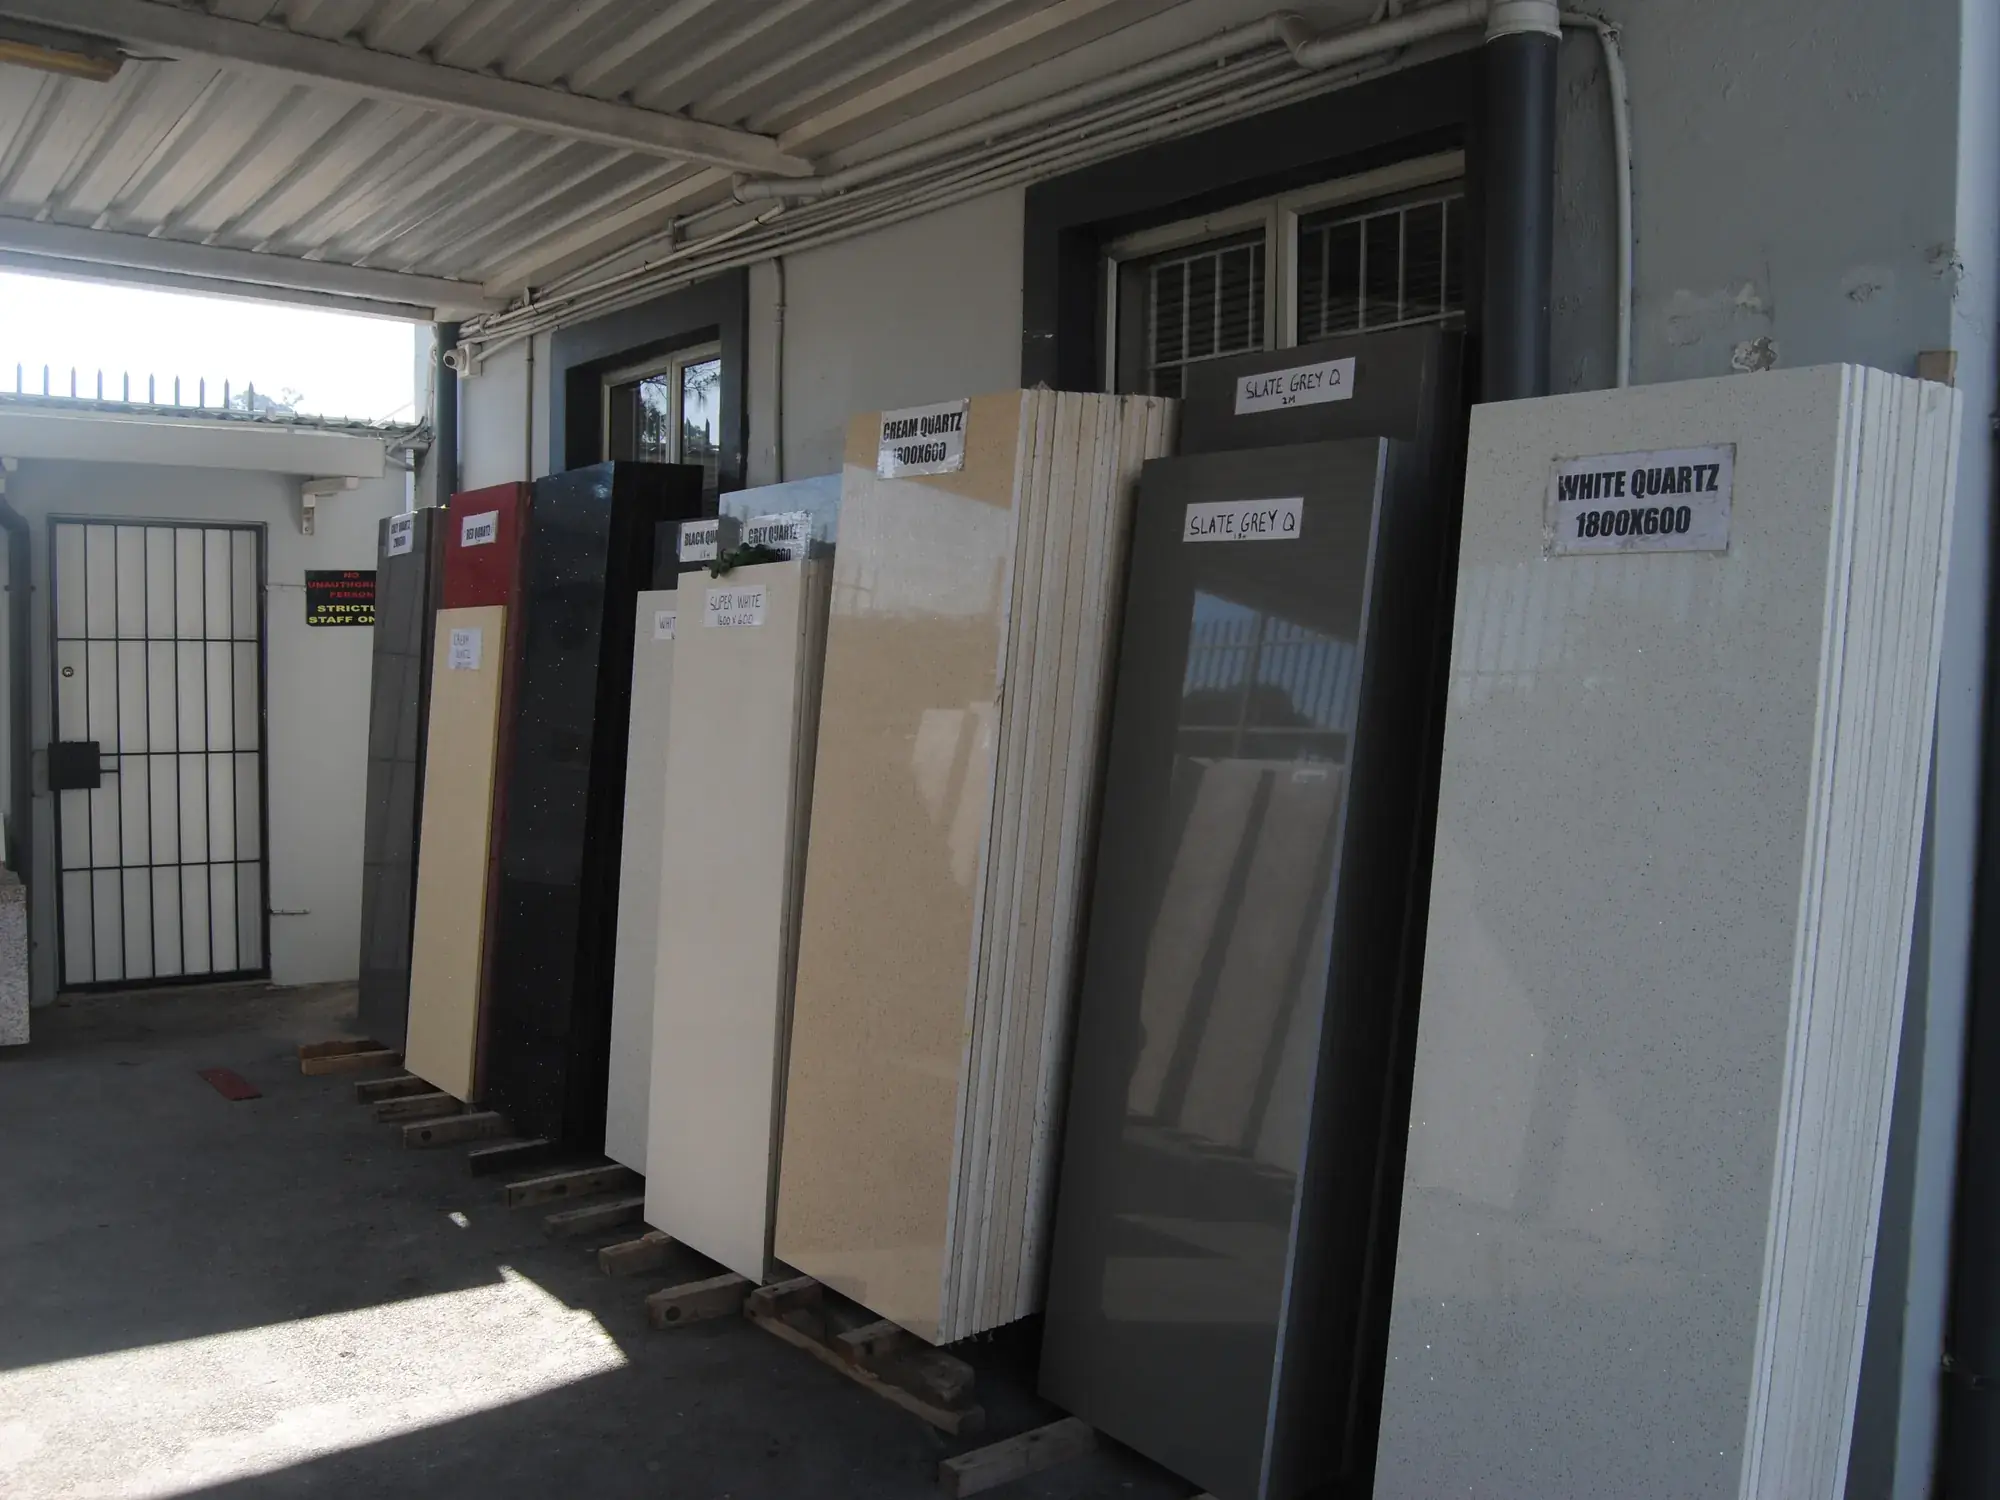
We check the product, thickness and visible faces of your granite, marble or quartz (Lumina Quartz) before cutting. Your drawing shows joint lines, openings and any site measurements.
The workshop detail your project needs
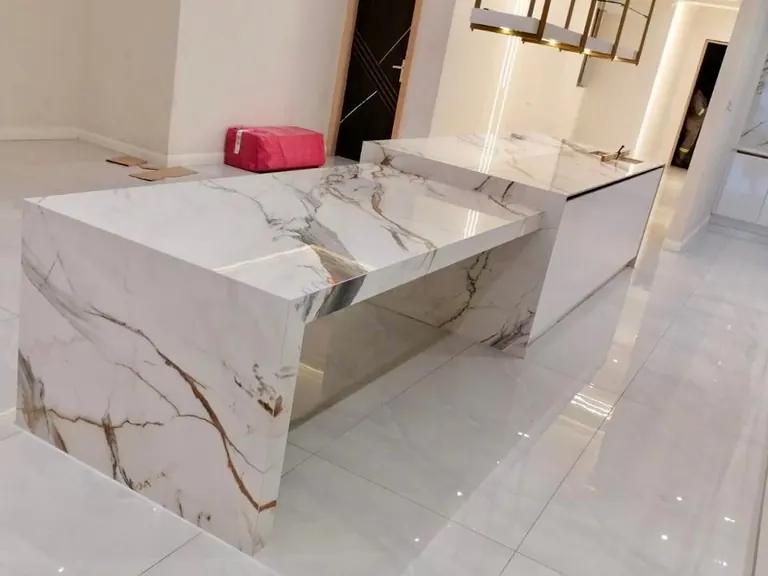
A straight worktop blank, a mitred waterfall end and an integrated basin need different operations. Tell us which stages you need us to undertake and which remain with your workshop or installer.
Straight cuts
Sizes, thickness and visible faces.
Mitres
Edge depth and exposed corners.
Cut-outs
Fixture model, template and position.
Integrated basins
Basin shape, drain position and support.
Edge finishing
Product, face finish and edge profile.
Cutting terms and fabrication details
Openings and mitred joints
A cut-out is the opening cut for a sink, hob or tap.
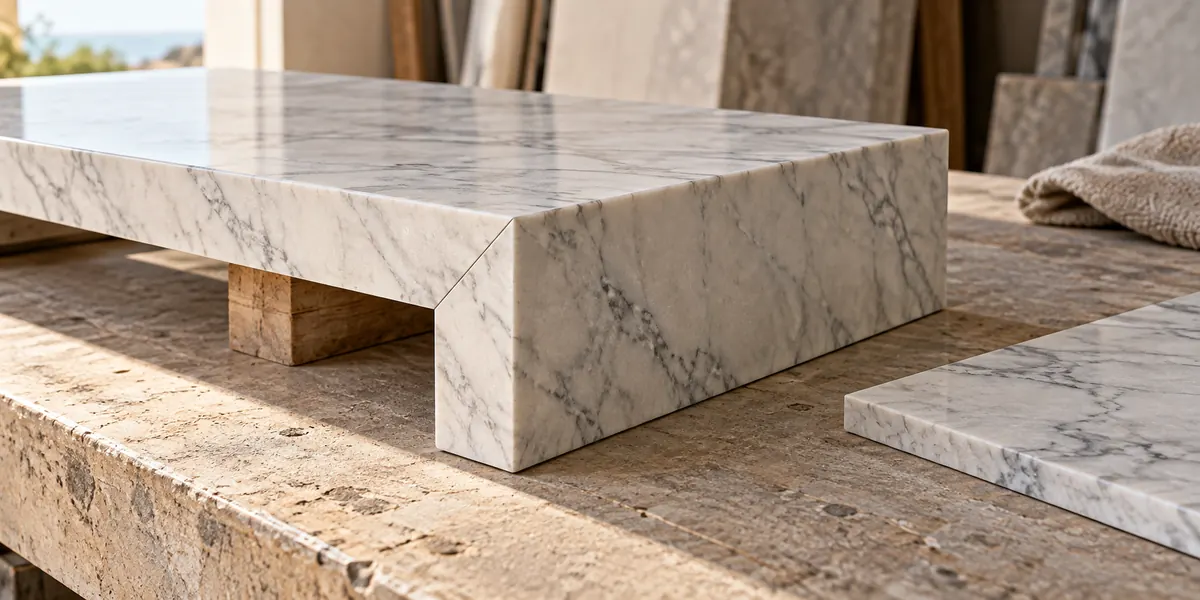
A mitre joins two edges cut at an angle, so the stone turns a neat corner or looks thicker at the edge.
Support, fixtures and finishing
We check the layout, joints and site measurements. Mitres and built-up edges need proper support or reinforcement. We check cut-out sizes and edges against the actual fixture.
For basins, we check the product suits the design. Plumbing is separate work. For finishing, we check the treatment gives the look you expect.
For curved shapes, inlays and lettering, see Waterjet cutting.
Give the edge its own design decision
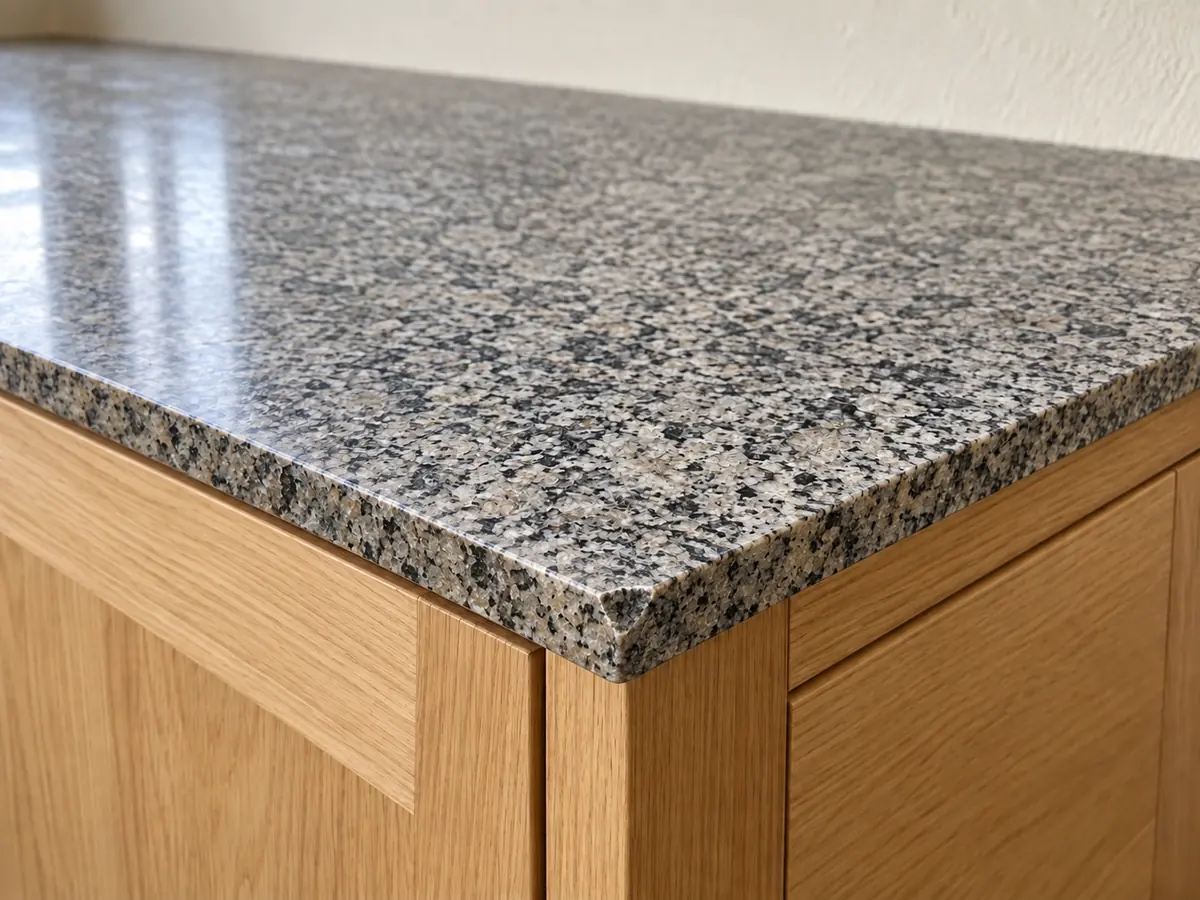
Profiles affect how a surface looks and feels. An eased edge softens the corner; a bevel adds an angled face; a mitre can create a thicker-looking apron. Product, thickness and support limit the detail that can be made.
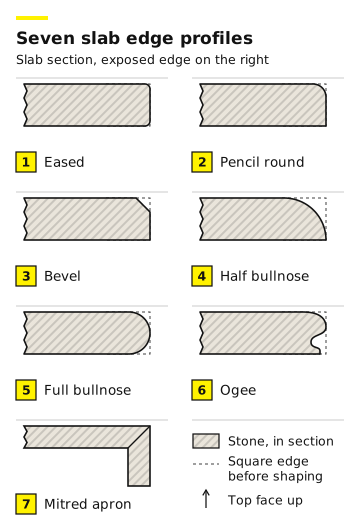
1 Eased
A lightly softened corner.
2 Pencil round
A fuller rounded top corner.
3 Bevel
A sloping face.
4 Half bullnose
Rounded face, straighter underside.
5 Full bullnose
A continuous round.
6 Ogee
A stepped curve.
7 Mitred edge
Two angled pieces create a deeper-looking edge.
Choosing a profile for the material
The exposed edge
An edge profile is the shape of the exposed edge. We check the profile suits your material and thickness.
For eased edges, we check how much of the edge shows. Pencil round keeps a mostly straight face. We set bevel angle and depth for your worktop.
Rounded, shaped and mitred profiles
We check full-bullnose joints and corners. Ogee needs enough stone depth and a sample. A mitred edge is built from joined pieces, not a full-thickness slab.
Review the faces, edges and joints together
Mark which faces will be seen, which edges join another piece and which openings meet a fixture. The drawing and finish references help define the component beyond its overall dimensions.
Face
Face finish
We check the finish supplied with your product.
Edge
Edge work
Profiling and polishing for suitable pieces.
Size
Dimensions
We cut to the final drawing.
The drawing and finish reference
Size variation and surface finish
Tolerances (the size variation allowed) are set on the fabrication drawing for each job.
Extra face treatment is quoted separately. We check your material to match a worked edge to the supplied face.
Drawing inputs and critical dimensions
Send the product reference, sample and technical data, edge drawing, exposed sides, final drawing and fixture templates. The drawing records anything the finished piece must meet.
Tell us if a size must be held closely. We note the agreed tolerance on the drawing.
A clear drawing before the first cut
Send dimensions in millimetres, quantities, part references and the current revision. Show pattern direction, joints, cut-outs and exposed edges. Fixture templates and the agreed final detail are needed before the relevant openings are cut.
To get started
Application, material, thickness, rough size, quantity and work needed.
Before we cut
Final sizes, joints, cut-outs, fixture templates, finish and visible faces.
Final drawing and supplied material
The final drawing marks dimensions, openings and exposed edges. Send the chosen material and thickness, the quantities and the latest drawing version.
For your own slab, see Stone supply & trade services.
Existing surfaces
Send the material details, condition and photos so we can assess the request.
We first check the surface, access and proposed work before saying whether a repair, re-polish or treatment is possible.
A photograph is useful for an initial discussion, but work on an existing surface depends on its product, condition, installation and the proposed change. We review the scope before confirming whether the work can be undertaken.
Whole-surface photos and close-ups of chips or staining
Previous treatments and whether the piece can be removed
Fabrication questions
Give every piece and room its own reference. Show quantities, finished sizes, exposed edges and the drawing version. We settle labelling and packing before collection.
Sometimes. It depends on how much stone remains, the support and the access. Send the original drawing, the new fixture model and photos, and we will check.
That works. Your quote records who supplies final measurements, checks fixture templates and installs the pieces. We set edge finishing, packing and collection before we fabricate.
Possibly. Send the product name, size, thickness, condition and photos. We check the stone and handling before we accept the job.
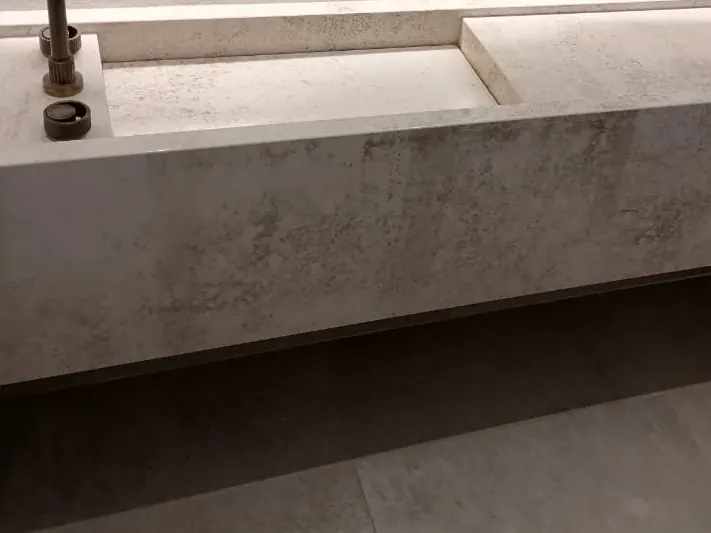
Bring the drawing to the workshop conversation
Send the material, dimensions, quantities and finishes you need. Identify the visible faces, edges and openings, and tell us how the pieces will be handed over.
